Purpose
To control a group or a zone with one sensor, external ZGP-sensors can be commissioned to a group or to a zone, consisting of lights with wireless drivers.
How to add sensors
→ Click on the “+” on the group screen and select “Sensors”.
→ Select the type of switch you want to add (2-button or 4-button).
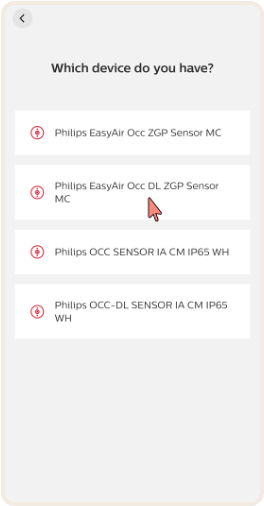
→ From the drop-down list of available sensors, select the type of
sensor you like to add.
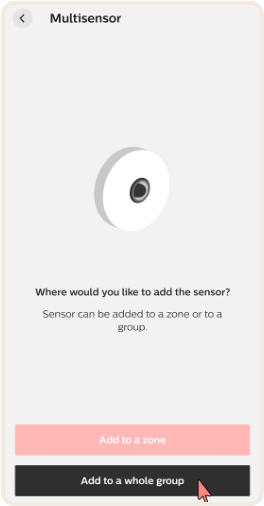
→ Next indicate whether you would like to add the sensor to a zone
or to the whole group.
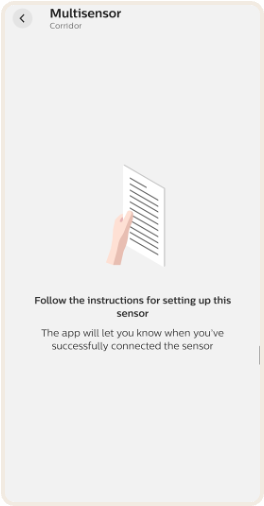
→ Follow the instructions for setting up the sensor.
→ When the sensor is added, you can choose to finish the process or
assign lights to a daylight area.
Step-by-step guide
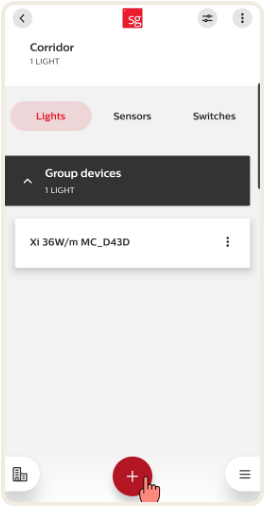
Step 1
Start by clicking on the "+" icon in the center towards the bottom of the screen.
Step 2
Click on "sensor" from the list that appears.

Step 3
Next indicate whether you would like to add the sensor to a zone or to the whole group.
Step 4
Follow the instructions for setting up the sensor.
Step 5
Follow the instructions for setting up the sensor.
Step 6
Follow the instructions for setting up the sensor.

Step 7
When the sensor is added, you can choose to finish the process or assign lights to a daylight area.

Remarks
→ You can add more than one sensor to a group or zone.
→ You cannot add ZGP sensors to groups consisting out of
slave drivers and sensors (hybrid networks). This will be
enabled with a future app update.
→ In case ZGP-sensors are used for a group, and at the same
time for zones of that group, the sensor(s) of the group
must be added first.
→ With firmware 2.1.1, situations may occur when sensors
cannot be added to the same group it was previously
removed from. Try using a different sensor or to
recommission the entire group.
How to remove an external ZGP-sensor
A sensor can be removed by following the steps below:
→ When you remove a sensor, you must remove all sensors
and switches in the group/zone. Additionally, you must
reset the sensor if you want to reuse it.
Add daylight area
Purpose
Lights assigned to a daylight area, dim down when the amount
of daylight as sensed by internal sensor, increases. You can assign
daylight areas to a group and/or to a zone. Only the lights in the
daylight area will follow daylight regulation. Typically, those are
the lights close to the window.
How to add daylight area
→ Choose “Create daylight area” at the end of the sensor commissioning
or via the device info screen of the sensor from the group overview.
→ Assign a name for the daylight area.
→ Select devices for the daylight area and click next.
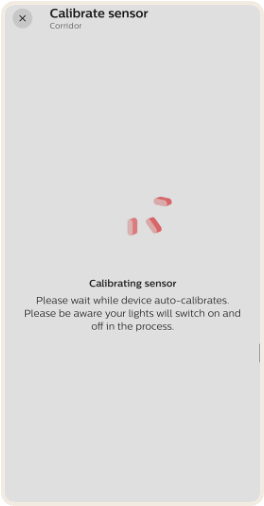
→ Choose “Calibrate and turn on” to activate the calibration process.
This process can be skipped by selecting “Calibrate later” and done
via the device info screen from the group overview.
→ After the calibration is done, hit “Finish” to finalize the commissioning.
Remarks
→ A daylight area can be in a group or in a zone but cannot include
lights of different zones, or lights of a zone and lights outside that zone.
→ Up to 25 lights can be moved into a daylight area.
→ For best lighting performance, it is recommended to calibrate daylight
areas with blinds all the way down or at nighttime.
→ Lights can be moved from one daylight area to another and can be added
or removed. But repeated actions can cause wrong light behavior. It is
recommended to plan daylight areas carefully in advance.
Step-by-step guide
Step 1
Choose “Create daylight area” at the end of the sensor commissioning or via the device info screen of the sensor from the group overview.

Step 2
Assign a name for the daylight area.
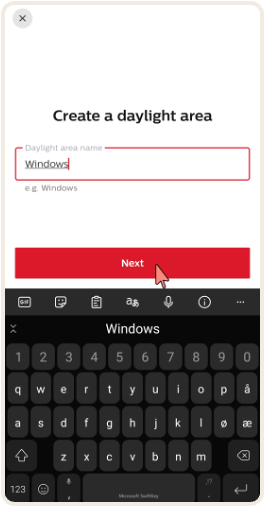
Step 3
Select devices for the daylight area and click next.
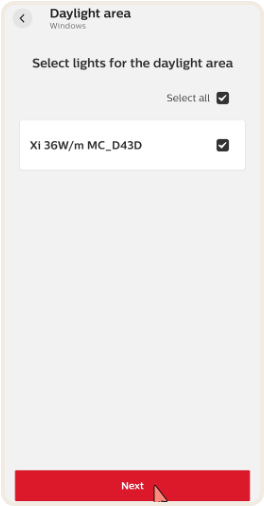
Step 4
Select devices for the daylight area and click next.

Step 5
Select devices for the daylight area and click next.
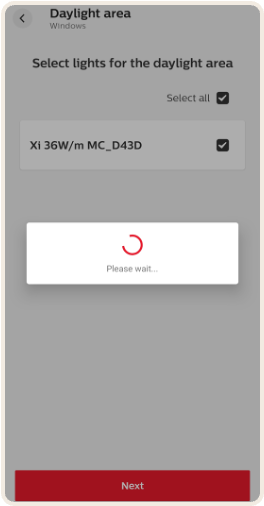
Step 6
Choose “Calibrate and turn on” to activate the calibration process. This process can be skipped by selecting “Calibrate later” and done via the device info screen from the group overview.
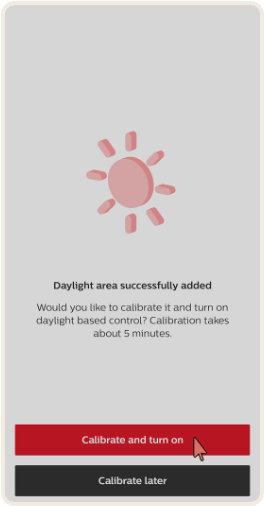
Step 7
Choose “Calibrate and turn on” to activate the calibration process. This process can be skipped by selecting “Calibrate later” and done via the device info screen from the group overview.
Step 8
Choose “Calibrate and turn on” to activate the calibration process. This process can be skipped by selecting “Calibrate later” and done via the device info screen from the group overview.

Step 9
After the calibration is done, hit “Finish” to finalize the commissioning.
